Authentication
All requests through Quabbly API are essentially made with a POST method.
However, all requests must be authenticated using an API Key
With the API key in hands, you can use it in requests via query parameters or HTTP header:
Every account user has access to an API key to perform all CRUD operations on the Quabbly's database based on permissions set by an administrator's account.
How to access API key
Once you have an account with Quabbly, getting the API key becomes a breeze.
Here are the steps to obtain your API key:
- Log in to your Quabbly account via your unique domain url.
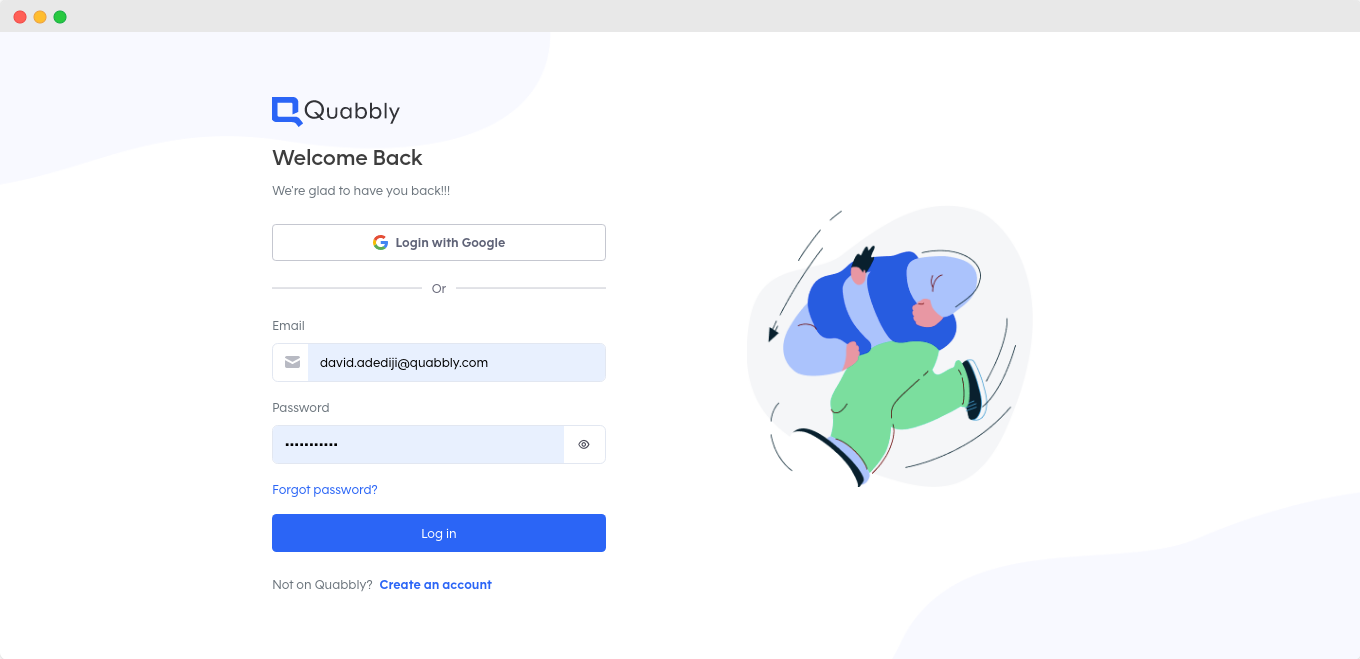
Login Page
You can visit quabbly.com to set up an account. Just less than 2 minutes.
-
From your account Homepage, click on the picture icon to reveal the dropdown menu.
-
Select Settings from the menu options.
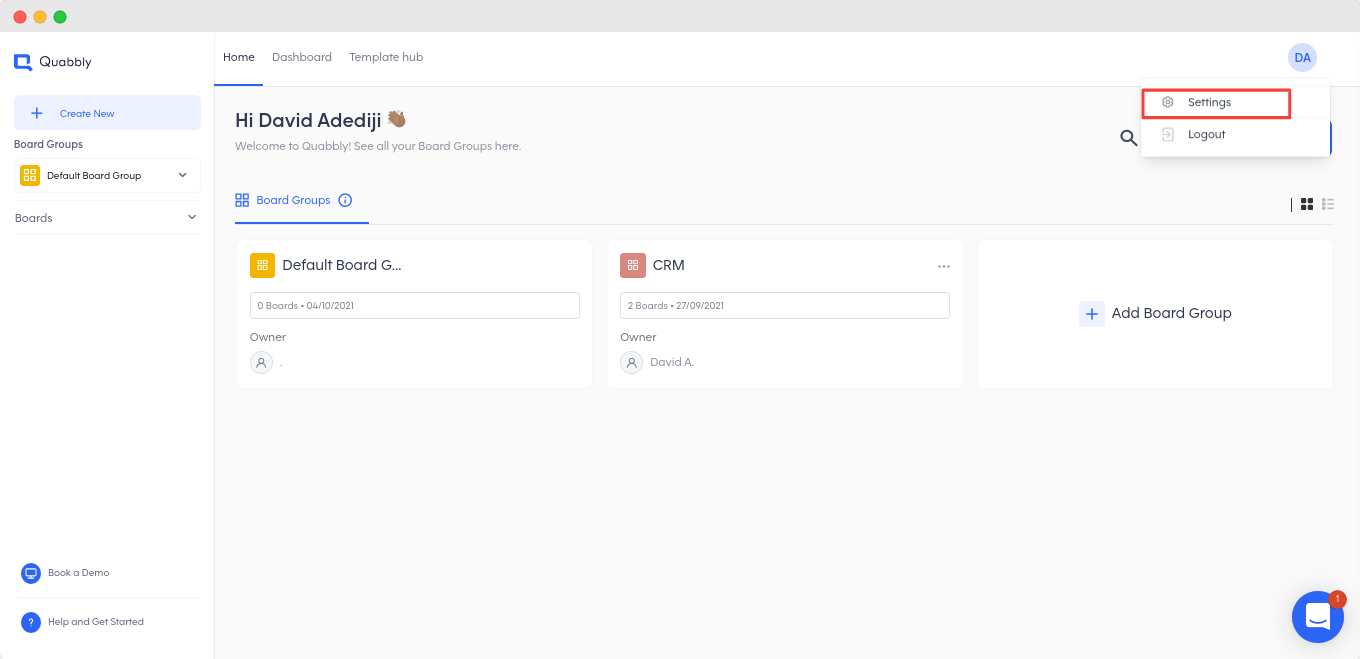
homepage
- Go to API & Webhooks right on the settings page.
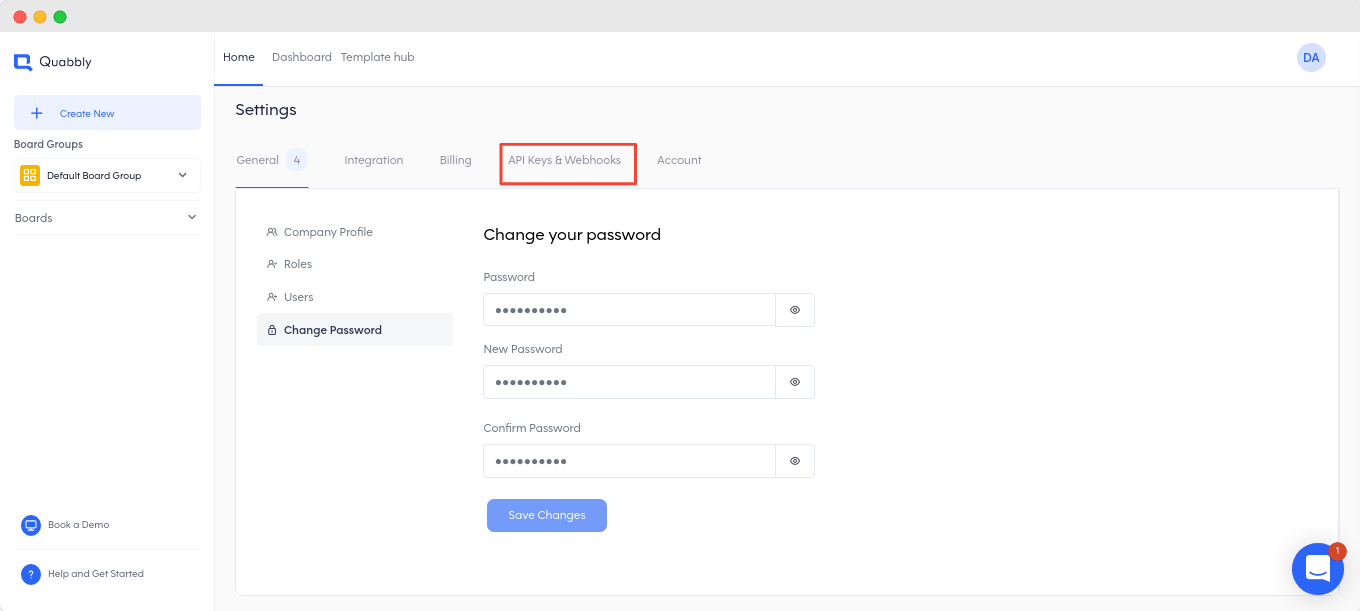
settings
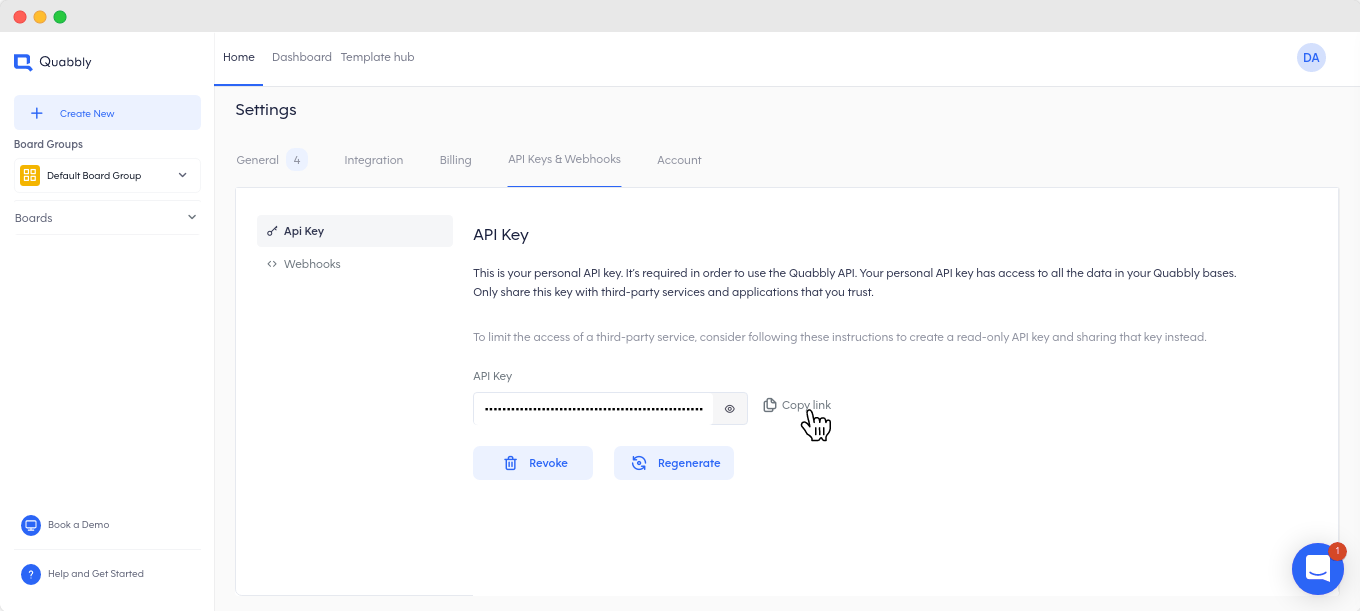
- Tap on API keys and click on Generate.
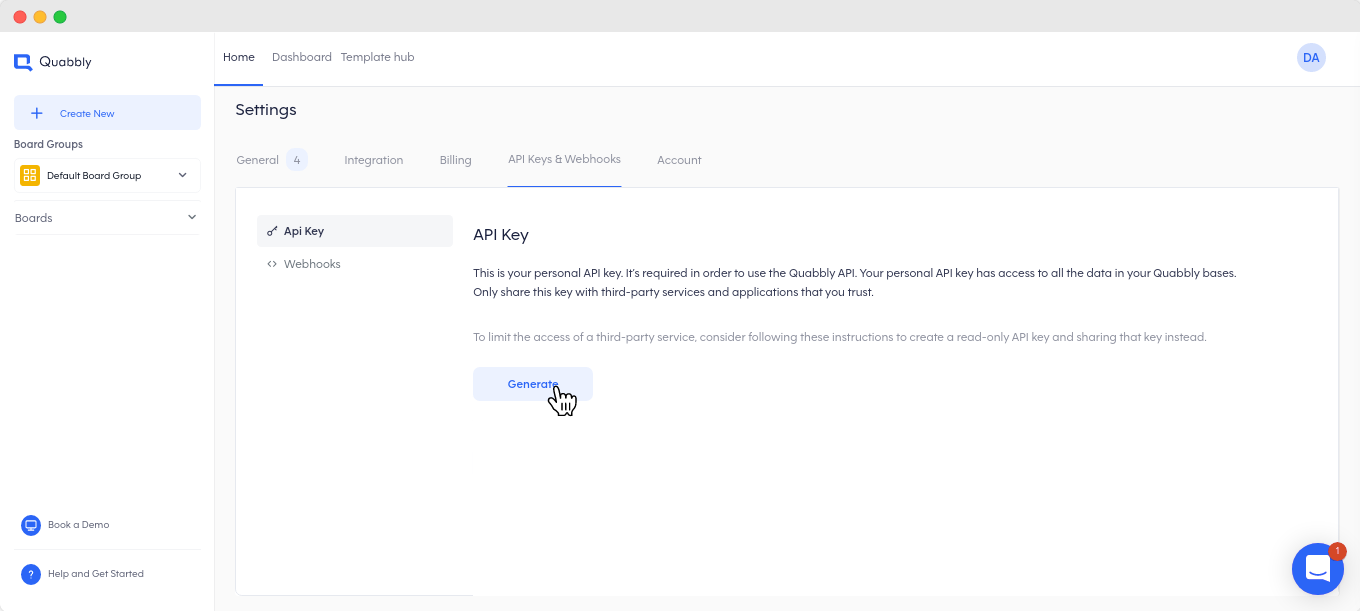
API key
- Tap on the copy button to have the key posted to your clipboard.
Warning
Regenerating an API key disables the previous one. The case is the same for revoking an API key.
Using the API key
Generating an API key from your Quabbly account gives you all you need to start making queries to the database. To use this with your queries, you need to pass the Key in the "x-api-key" http header:
"x-api-key:xxxxxxxxxxxxxxxxxxxxxxxxxxxxxxxxxxxxxxxxxxxxxxxxxxxxxxxxxxxxxxxxxxxxxxxxx"
Your API key gives you full access to your data on Quabbly. Therefore, it should be kept discreet from third-parties.
With the API Key ready, we can go on ahead to make our first API query.
Updated almost 4 years ago